You can save a good deal of money by doing a keratin treatment at home, but it does require a steady hand and some patience. To pull it off without frying your hair, you need to follow these six steps in order: clarify, section, apply, process and rinse, blow-dry and flat iron, then maintain.
It’s helpful to understand how keratin treatments function before you begin. The liquid protein covers each hair strand, repairing the damaged areas and smoothing out the outer layer; this creates a protective barrier that guards against humidity and also helps to prevent frizz.
What You Need Before You Start
Before you start, make sure that you have your complete keratin treatment at home kit ready. It can become a mess quickly if you’re looking for a comb or some clips to use with the product in your hair.
Pick a kit that is free of formaldehyde and contains plant-based natural proteins such as Juvexin V2, GK Hair’s optimized anti-aging keratin protein blend derived from quinoa and pea that restores hair from the inside out. It is the same professional technology GK Hair supplies to salons in 75+ countries, which is why the steps below mirror the salon protocol.
A review on keratin’s role in the hair shaft explains that keratin gives hair its strength and elasticity, and topping up lost protein helps damaged strands feel stronger and smoother.
|
Tool / Product |
Purpose in the Process |
|
Clarifying Shampoo |
Strips buildup and opens the hair cuticle. |
|
GK keratin treatment |
The core smoothing formula. |
|
Sectioning Clips |
Keeps hair locked into manageable quadrants. |
|
Gloves & Tint Brush |
Keeps product off your skin and ensures even coating. |
|
Fine-Toothed Comb |
Pulls excess product through to the ends. |
|
Blow Dryer |
Bakes out 100% of the moisture before ironing. |
|
Flat Iron |
Locks the treatment into the cortex with heat. |
|
Sulphate-Free Aftercare |
Maintains your results after the initial wash. |
How to Do Keratin Treatment at Home in 6 Steps
Step 1: Clarify Your Hair
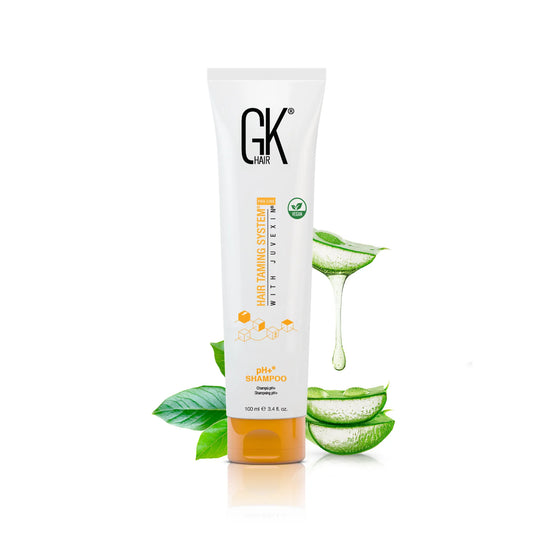
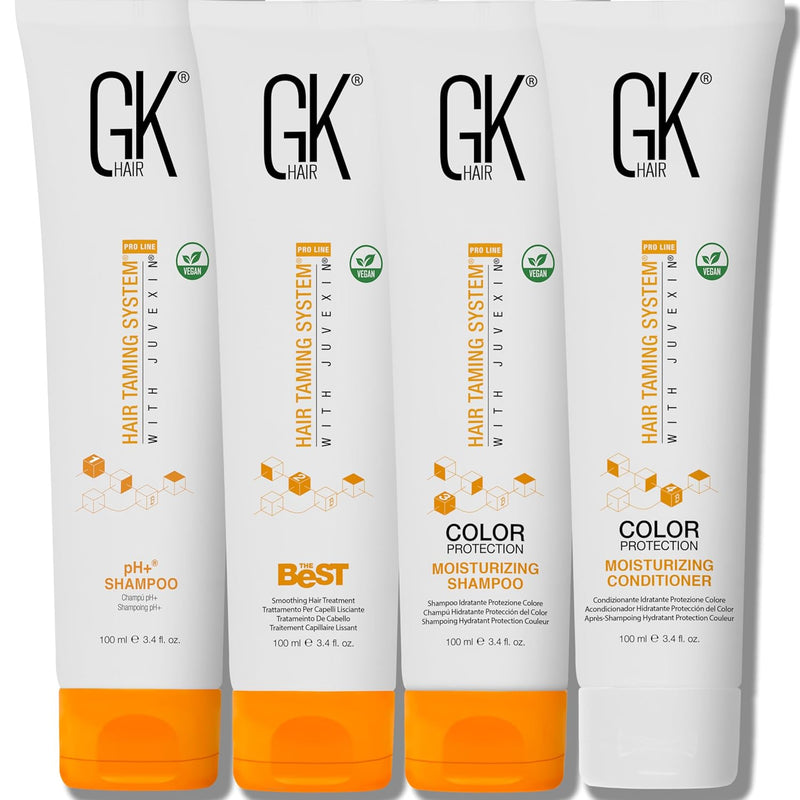
Clean your hair twice using a clarifying shampoo such as our pH+ Shampoo and then dry it well with a towel. Skip the usual conditioner when doing this. The deep cleaning action removes oil and buildup, preparing your hair to take in the treatment.

Step 2: Section Your Hair
Split your damp hair into at least four sections and hold them in place with clips. Working section by section helps you cover every part and keeps your hair from getting tangled.

Step 3: Apply the Treatment Section by Section
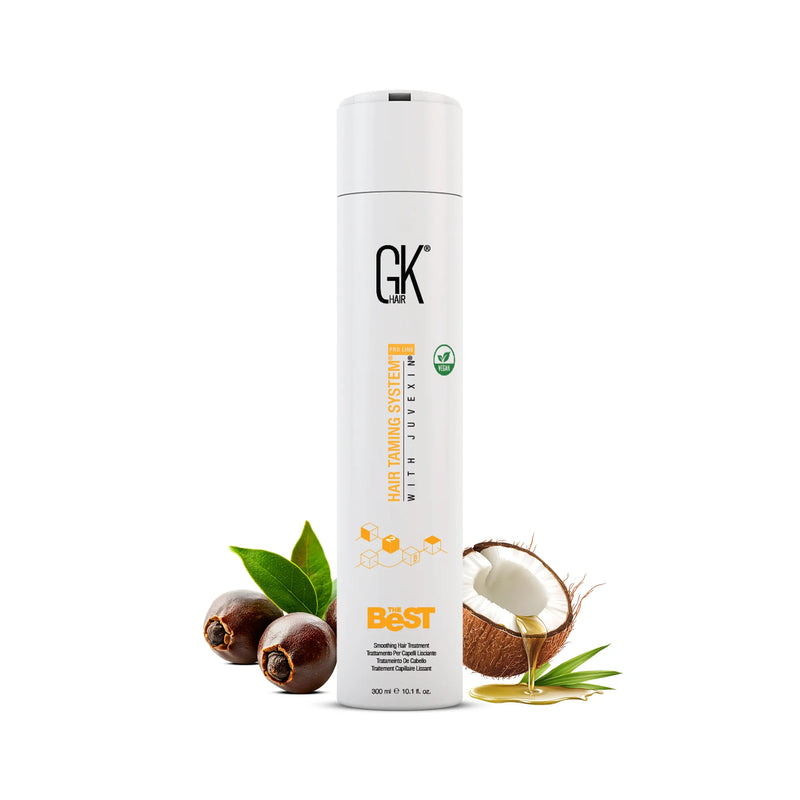
Begin at the back of your neck and use a tint brush to apply The Best Hair Treatment, parting your hair in ½-inch subsections, leaving about a quarter-inch distance from your scalp. Work the brush through each strand to distribute the product evenly. Massage each strand gently with your fingers to push the protein blend into the cuticle.
Step 4: Process, Rinse, and Condition
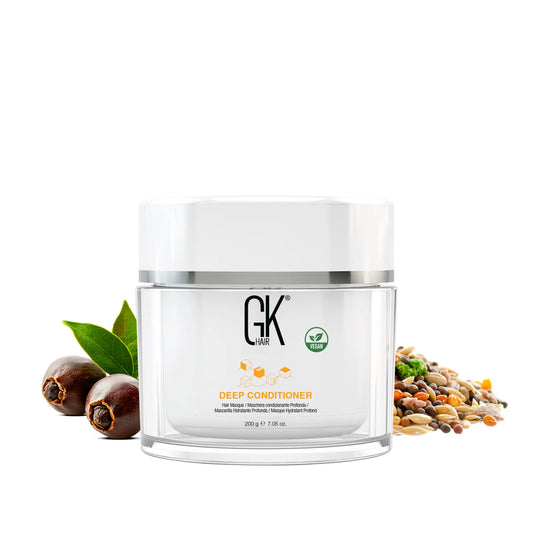
Leave the product on for 40 to 60 minutes: 40 for fine or wavy hair, 60 for thick, coarse or tightly curled hair. Rinse your hair with warm water until the water comes out clear and then wash it using a Moisturizing Shampoo. Apply our Deep Conditioner for five minutes and then rinse it again.

Step 5: Blow-Dry and Flat Iron to Seal
Blow-dry your hair until it is fully dry and ensure that there is no dampness before moving on to the following keratin treatment steps. Section the hair and use a titanium flat iron at 410°F (or 370°F if the hair is over-processed, lowering it further if the ends are very weak or damaged). Pass the flat iron about 2 to 4 times on each small section to lock the treatment in.

Step 6: Wash and Style on Your Schedule
Once the ironing is done, you are completely free to wash your hair whenever you want. You no longer have to wait days or stress about avoiding water, hair ties, or tucking your hair behind your ears. Use our shampoos and conditioners fortified with Juvexin V2 to maintain your smooth results.
The Italian-Style Application for Extra-Straight Results
If you want very straight, shiny hair instead of loose, frizz-free waves, try the Italian-style method. Unlike standard application methods, this technique requires blow-drying the product directly into the hair until 100% dry, flat-ironing to lock it in, and finishing with a moisturizing shampoo wash. Expect results to last three to five months.
Does keratin treatment damage hair?
Not when it is done correctly. A formaldehyde-free keratin treatment coats and smooths the hair rather than breaking its bonds, so the formula itself isn’t what harms it. Damage usually comes from the flat iron: too much heat, too many passes or ironing damp hair. Match the temperature to your hair’s condition and work in a well-ventilated room.
The FDA warns that hair smoothing products that release formaldehyde when heated can cause watery eyes, coughing, wheezing and skin irritation, and that poor ventilation raises the risk of breathing in the fumes.
Do a skin patch test 48 hours before starting to check to see if you are allergic.
Mistakes That Ruin At-Home Keratin Results
- Ironing wet hair: If your hair is still damp when you use the flat iron, the trapped water heats up quickly inside the hair. This can damage the strand from the inside and cause it to break right away.
- Using the wrong shampoo: Washing your hair with a shampoo that contains sulphates strips the treatment faster and shortens how long your results last.
- Slathering product right on your scalp: Applying the treatment right up against your skin will leave your roots looking greasy, weigh your hair flat, and can cause irritation. Always keep that quarter-inch buffer.
- Skipping the clarifying wash: Using your regular daily shampoo beforehand leaves behind oils and styling residue that block the keratin from actually penetrating the cuticle.
- Drowning your hair in product: Soaking your strands so they are dripping wet does not give you better results; it just makes the hair gummy, nearly impossible to blow dry smoothly, and a nightmare to flat iron.
How Long the Results Last
The duration of the benefits from a keratin smoothing treatment, ranging from three to five months, will depend on the rate at which your hair grows and how frequently you wash it.
Keratin smoothing is not a permanent solution since its effects wear off over time, unlike chemical relaxers which alter the bonds in your hair permanently.
To stretch out your results and maximize how long it lasts, stick to these keratin treatment aftercare habits:
- Use only hair products that do not contain sulphate or sodium chloride.
- Limit the number of washing days: no more than twice a week.
- To reduce friction, use a pillowcase made of silk or satin.
- Keep your hair away from chlorine and saltwater.
- Apply a hydrating hair mask once every week.
Doing It at Home vs Booking a Salon
When it comes to choosing between doing a hair-smoothing treatment yourself and going to a salon, the decision mainly comes down to how much money you’re willing to spend and how patient you can be. You can save a lot of money by doing it yourself, but you should be prepared for having to put in a two- to three-hour arm workout.
In humid areas such as ours, the effort is worthwhile since it results in frizz-free hair. At a salon, you can relax while another person deals with the difficult areas, but if your hair has been severely damaged by bleach or chemicals, it’s better to rely on a professional rather than on your bathroom mirror.
Doing a keratin treatment at home definitely takes a solid chunk of your time and attention, but the payoff is entirely worth it. Instead of battling humidity and spending every morning wrestling with a flat iron, you get to enjoy months of sleek, touchably soft, and blissfully low-maintenance hair.
FAQs about Keratin Treatment at Home
1. Can I do keratin treatment at home by myself?
Yes, you can do this by yourself if you take your time and use two mirrors to see the back of your head. Careful sectioning is important, so do not rush the setup before you start applying the product.
2. Do I need a flat iron, or is a blow dryer enough?
A flat iron is strictly mandatory. While the blow dryer removes surface water, the direct heat of a flat iron is what seals the keratin straightening formula onto the hair so the smoothing lasts.
3. Can I do this on coloured hair?
Yes, these treatments are wonderful for colour-treated hair because they seal down open cuticles and add reflective shine. However, processing can slightly alter your shade, so it is always best to colour your hair after smoothing.
4. Will it work on very curly or coarse hair?
An at-home treatment loosens curls and controls humidity frizz on coarse hair, but it will not relax tight coils the way a chemical relaxer does. If you want completely pin-straight results on very resistant textures, you should use the Italian-style application method or visit a professional.
5. Can I make a hair keratin treatment at home with natural ingredients?
Not a true one. Don’t expect kitchen hacks like coconut milk or egg masks to do the heavy lifting here. While they add a bit of temporary shine, they lack actual keratin and cannot survive the intense heat of a flat iron. To lock in months of sleek, frizz-free hair, stick to a trusted, formaldehyde-free formula like The Best.